Have you ever tried any Japanese bread before? Japanese bread is quite different from Western one. Japanese bread is ultra-soft and fluffy ― it springs back when pressed. Also, it is often sweeter than Western bread, a slightly sweet dough is the default. Most Japanese bread doughs contain sugar, milk, and butter as standard ingredients, giving even “plain” bread a mild sweetness.
The Japanese word for bread, “pan” (パン), comes directly from the Portuguese “pão,” a clue to bread’s 16th-century arrival via trade and missionary contact. But Japan did not simply adopt Western bread ― we never do;) Japanese bread has transformed into something uniquely its own: shokupan (milk bread), anpan (sweet bean paste buns), kare pan (curry-filled deep-fried rolls), yakisoba pan (noodle sandwich bun), and fruit-cream sandwiches. In Japan, a bread bun IS the meal or snack: anpan, melon pan, cream pan are complete in themselves, often eaten on the go. The filled-bun format (“kashi pan” / 菓子パン) is probably Japan’s most distinctive bread invention.
In 1875, Kimuraya’s anpan was presented to Emperor Meiji at a cherry-blossom viewing, with a salted cherry blossom placed on top; the story helped make anpan famous across Japan.
You might be surprised since Japan is often seen as a rice-eating culture, but we are actually a nation of bread lovers:) I am no exception ― I’m a huge bread lover myself!
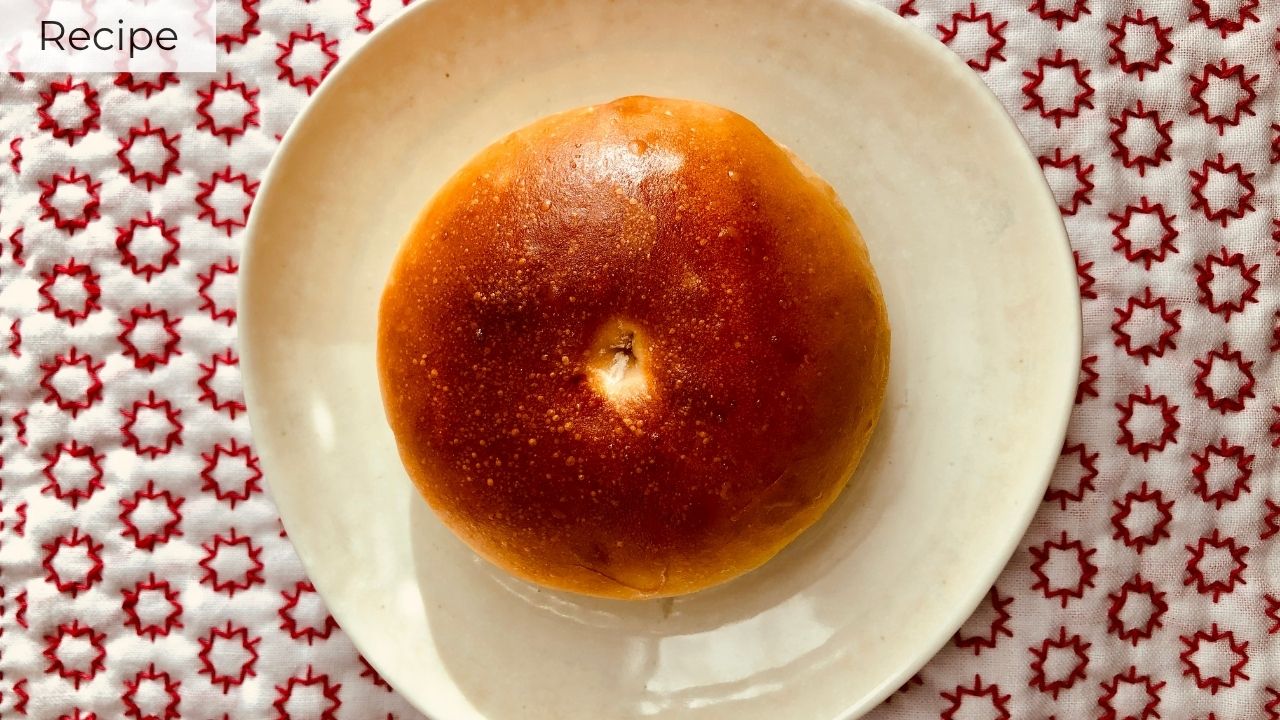
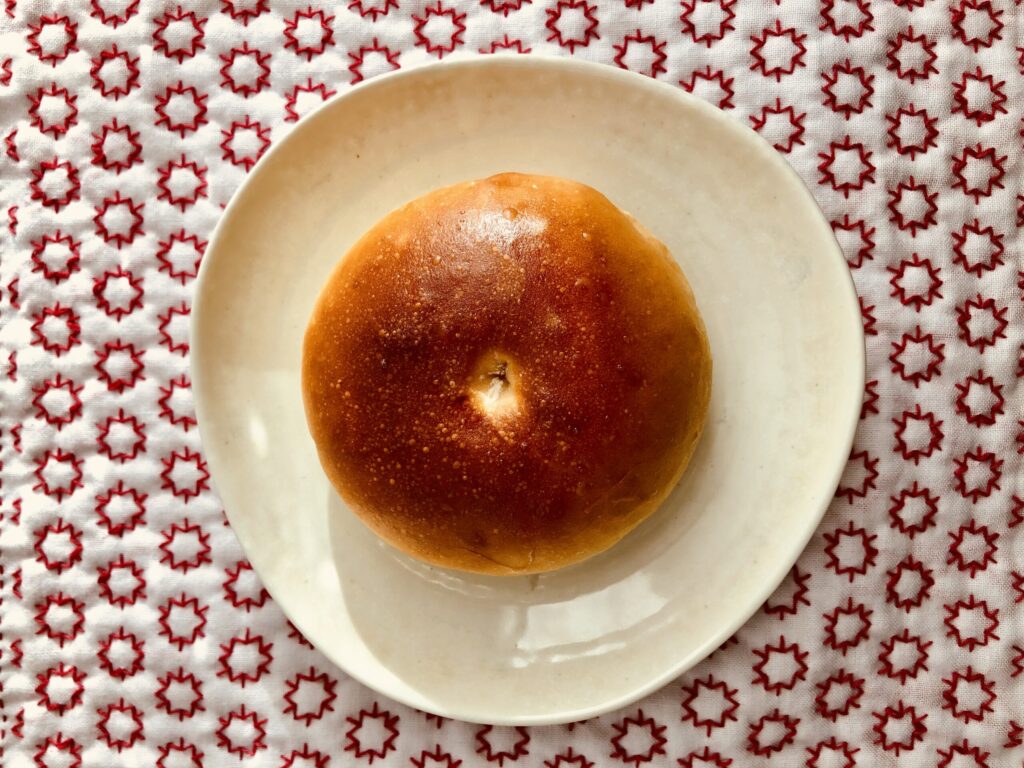
Homemade Anpan (Sweet Red Bean Buns)
Total Time: About 3 hours (including proofing time)
Difficulty: Intermediate — easier than it looks, but proofing takes patience!
Yield: 5 Buns
You might wonder why this recipe makes such a small portion, but it’s because my oven is tiny! (14L convection oven ― tiny oven perfect for tiny Japanese kitchen ;)) Feel free to double or triple the recipe to suit your oven size or family!
Ingredients (Makes 5 buns)
•150g Bread flour
•15g Sugar
•2g Salt
•1.8 – 2.0g Dry yeast
•60g Milk
•40g Water
•10g Unsalted butter (room temperature)
•150g Anko (Sweet Red Bean Paste) – I used my homemade anko
Instructions
Note: All kneading, rising, and baking times are approximate. Adjust as needed based on the condition of the dough.
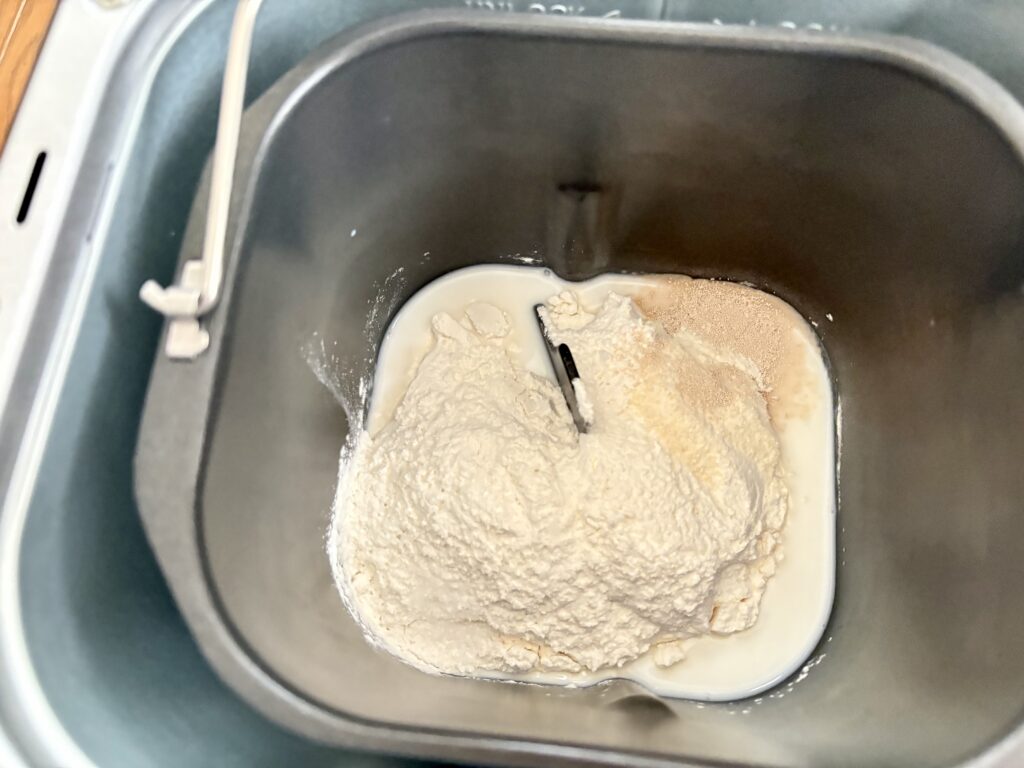
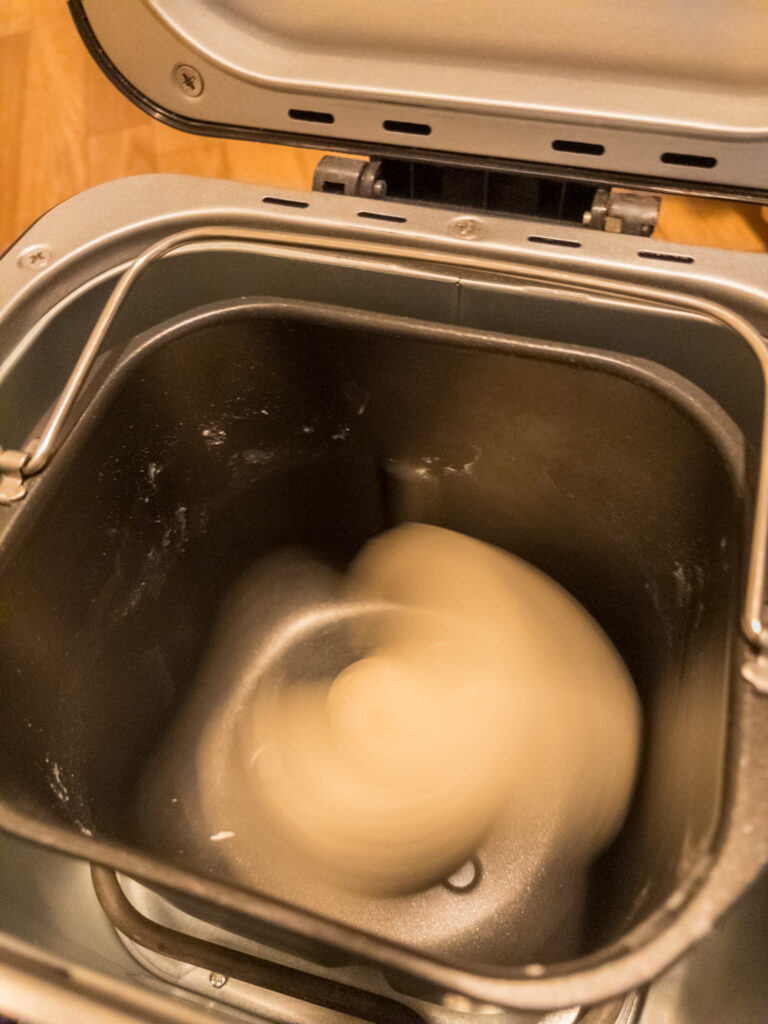
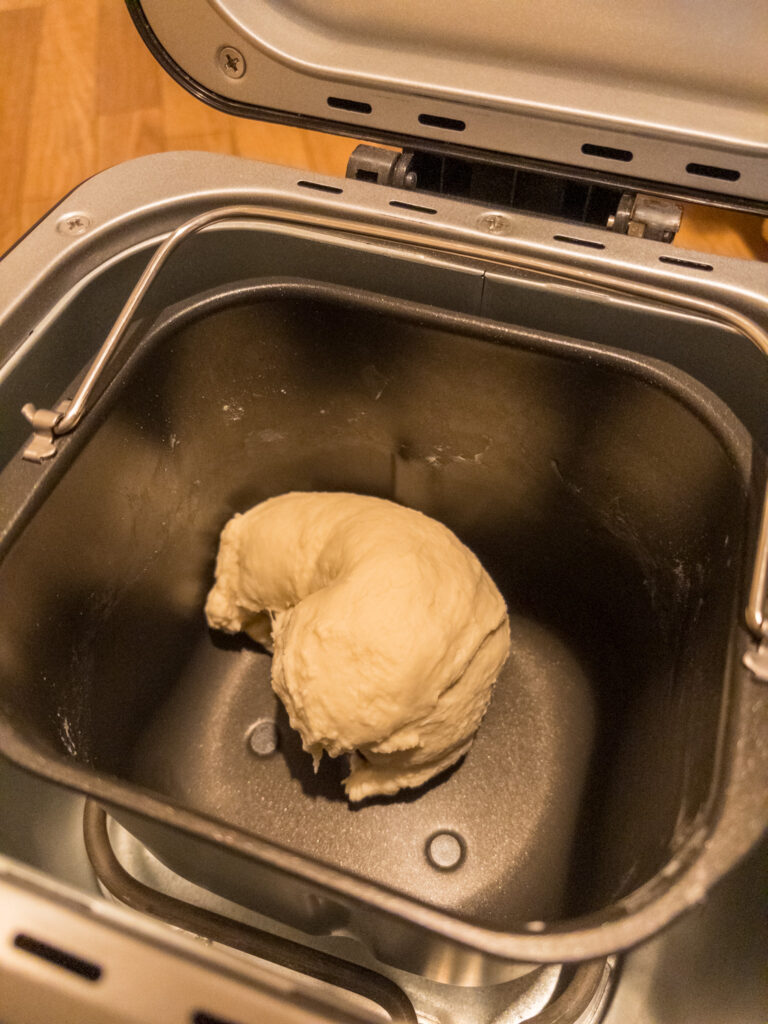
- Kneading the dough: Place all ingredients (except butter) into bread machine (Zojirushi is the best!). Knead for about 5–8 minutes. Add unsalted butter and knead for another 5–8 minutes. The dough is ready when it is elastic enough to be stretched into a thin, translucent membrane without it tearing. Of course, you can also knead it by hand.
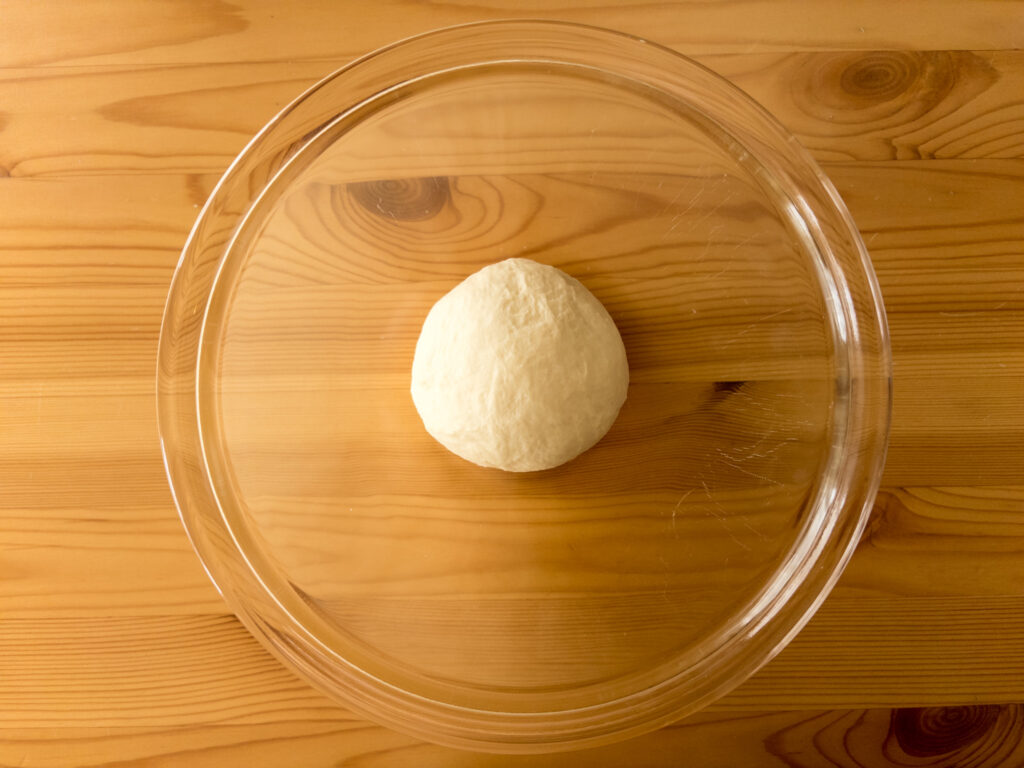
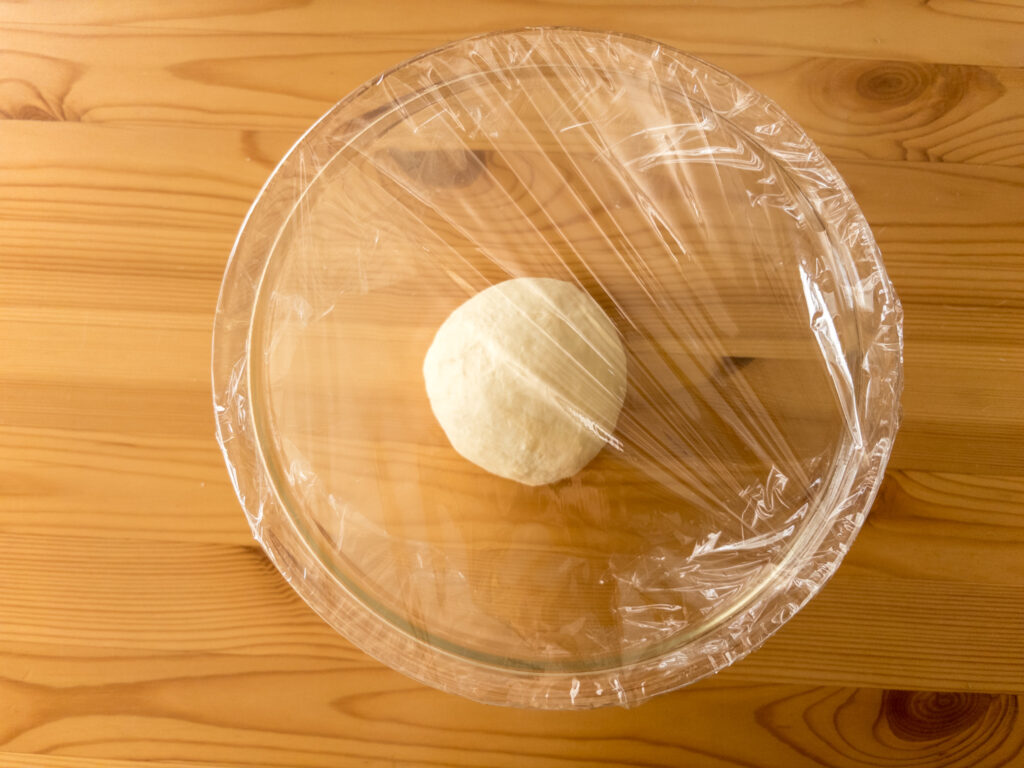
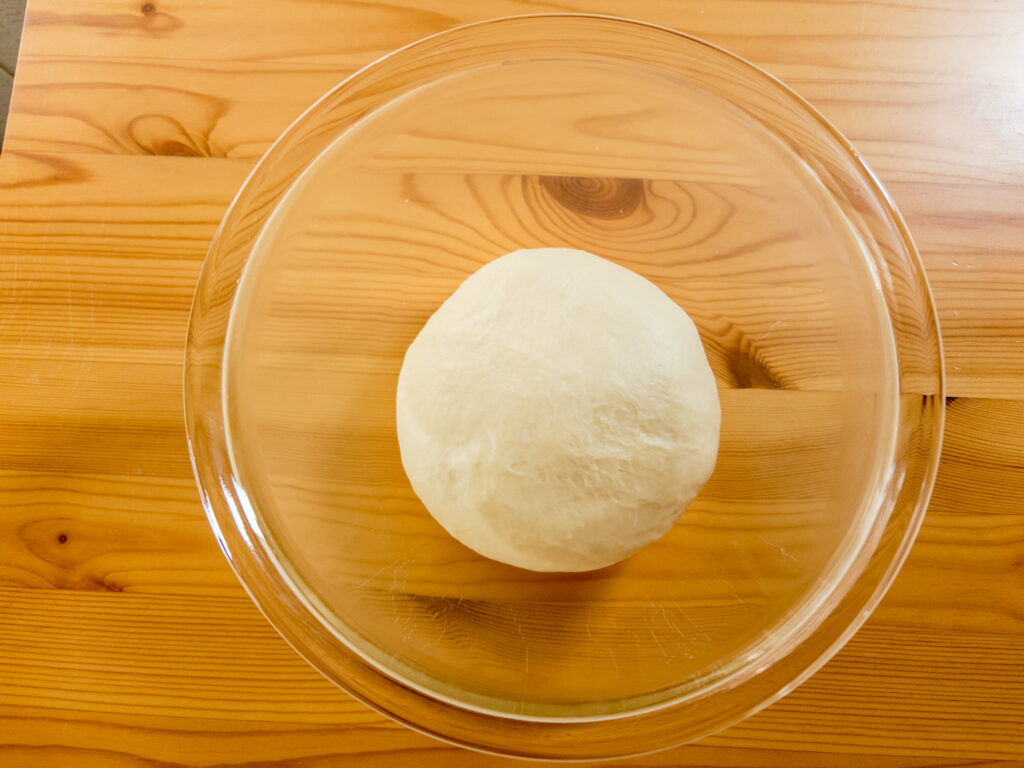
- First proofing: Place the dough in a bowl, cover with plastic wrap or a damp cloth, and let it rise in a warm place (30°C / 86°F) for about 60 minutes, or until it has doubled in size. (You can also use the proofing setting on your bread machine).
- Degassing: Transfer the dough to a floured work surface and punch down the dough gently.
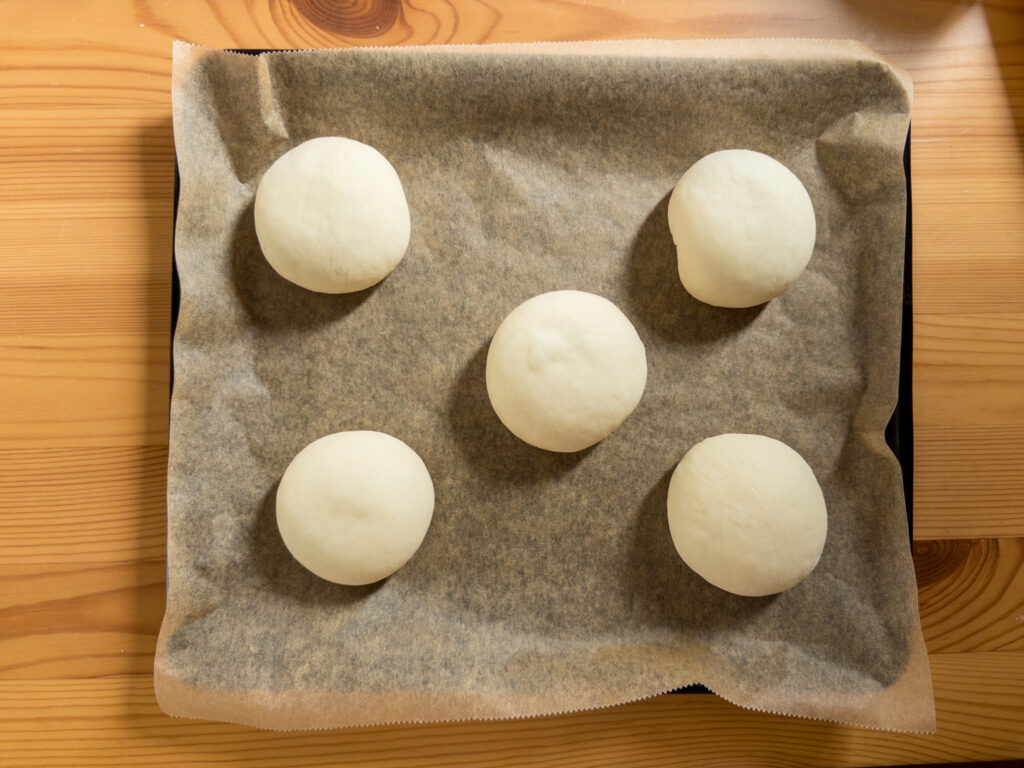
- Dividing and Shaping: Divide the dough into 5 equal pieces (approx. 55–60g each) and gently gather the edges to the center, then lightly round each piece.
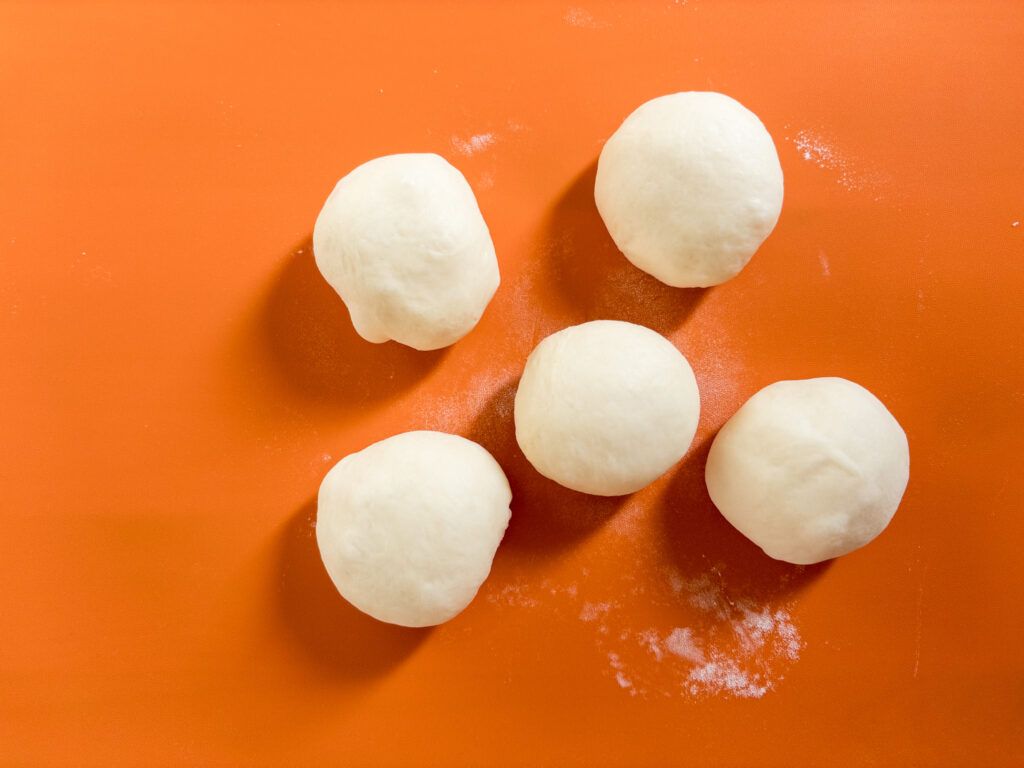
- Bench Time: Cover the dough balls with a damp cloth and let them rest for 20 minutes.
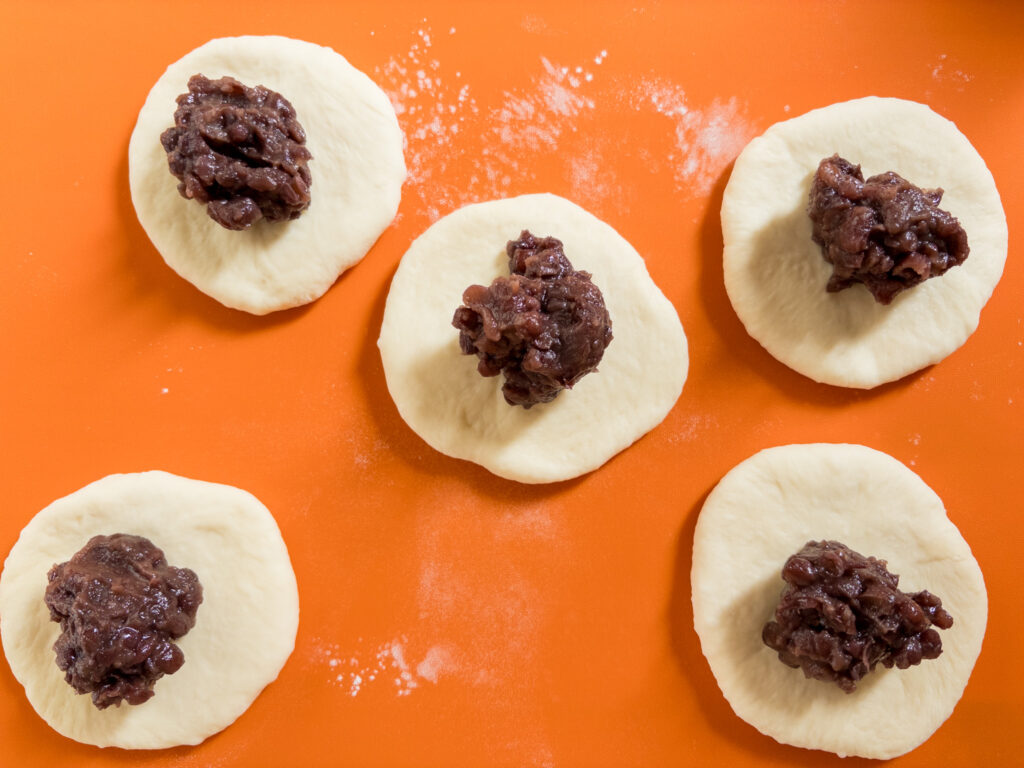
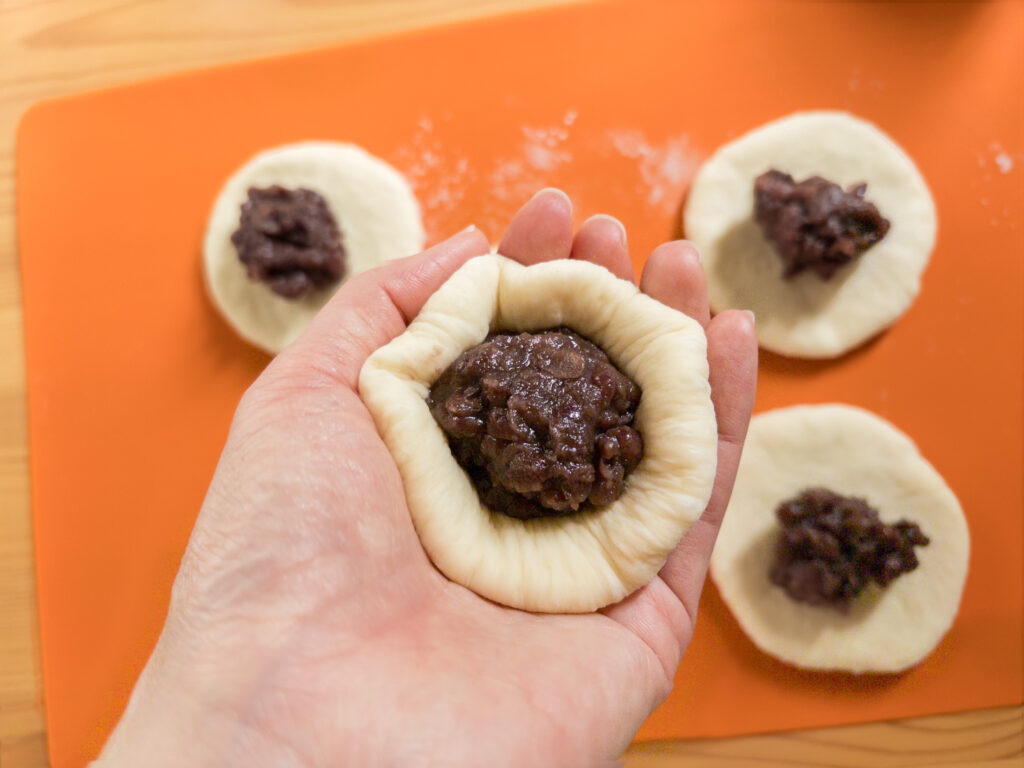
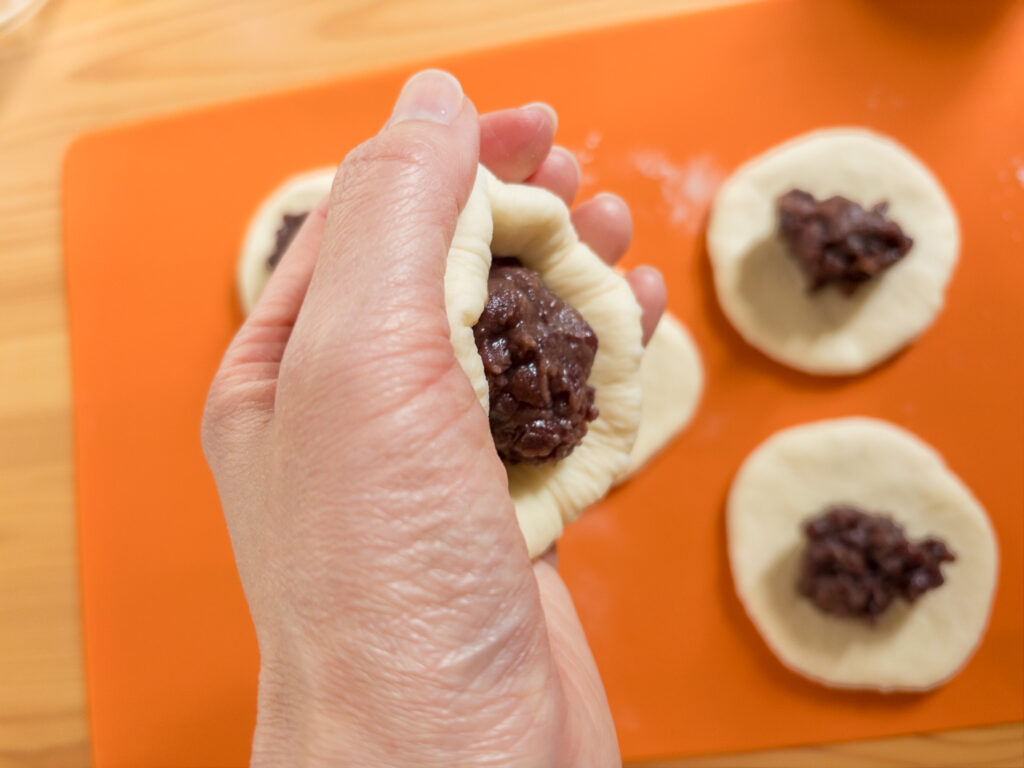
- Final Shaping & Filling: Lightly flour your work surface. Use a rolling pin to flatten each ball into a circle (about 10cm in diameter). Place 30g of red bean paste in the center. Gently press the filling down while pulling the dough edges up to wrap it securely. Pinch the seams tightly to seal.
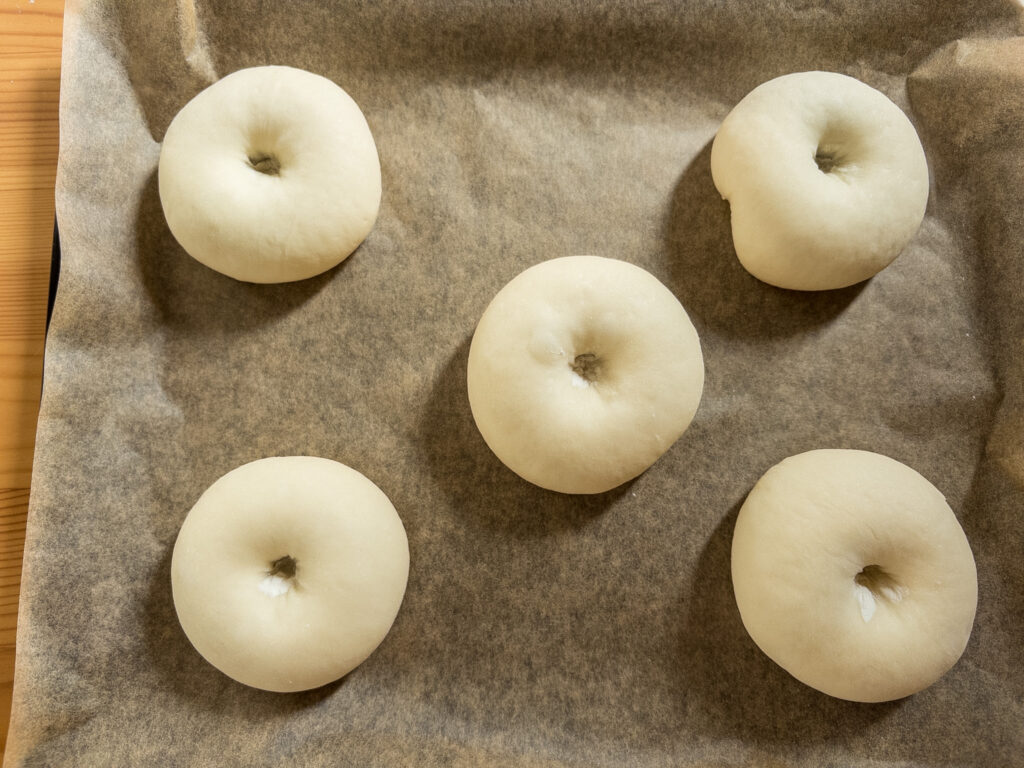
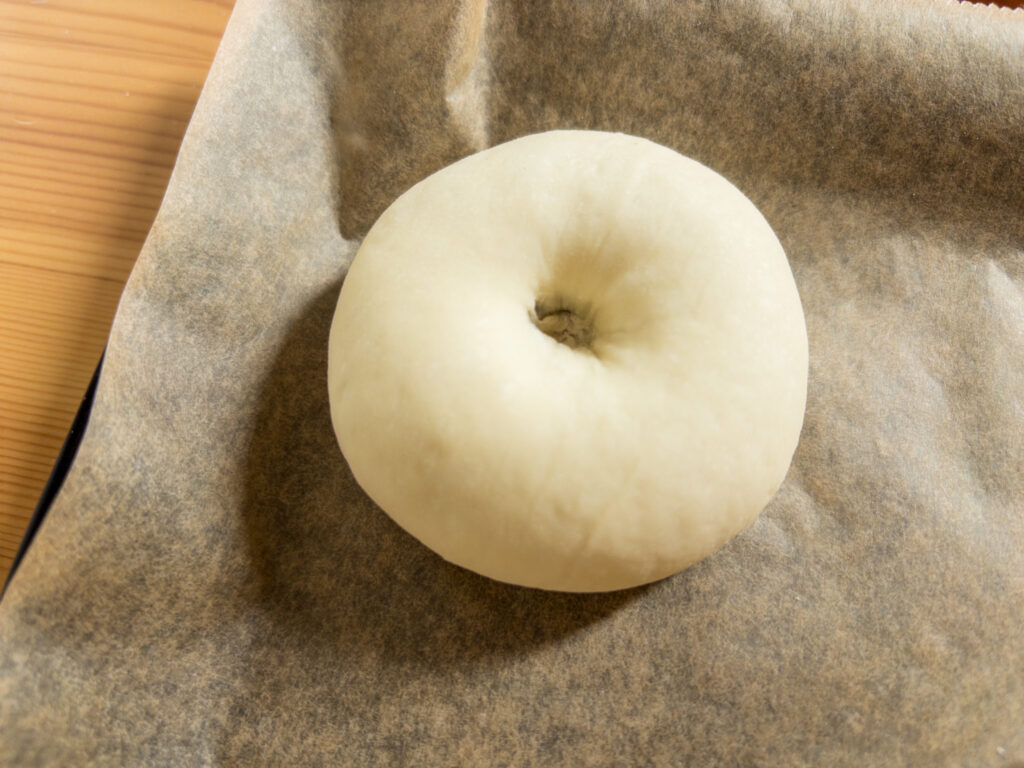
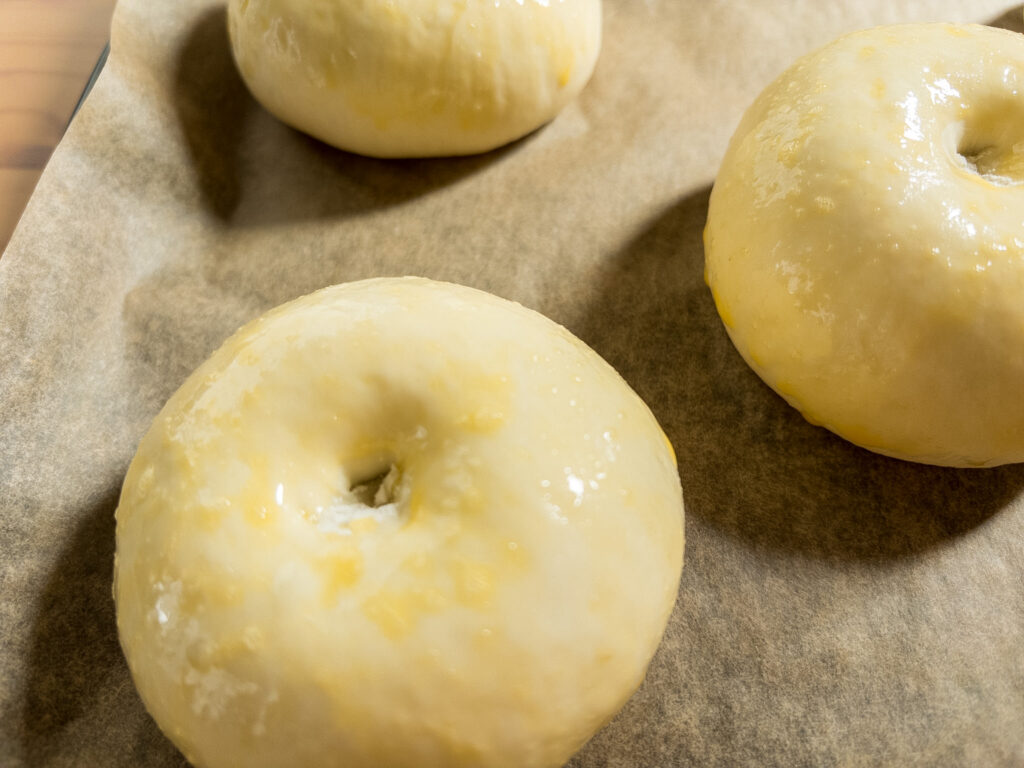
- Second Proofing: Place the buns seam-side down on a baking sheet lined with parchment paper, leaving space between them. Dip your index finger in a little bit of flour and press it into the center of each bun to create a small indentation (like a belly button). Cover the buns with a damp cloth and let them rise in a warm place (30°C / 86°F) for 40–50 minutes, or until 1.5 times in size.
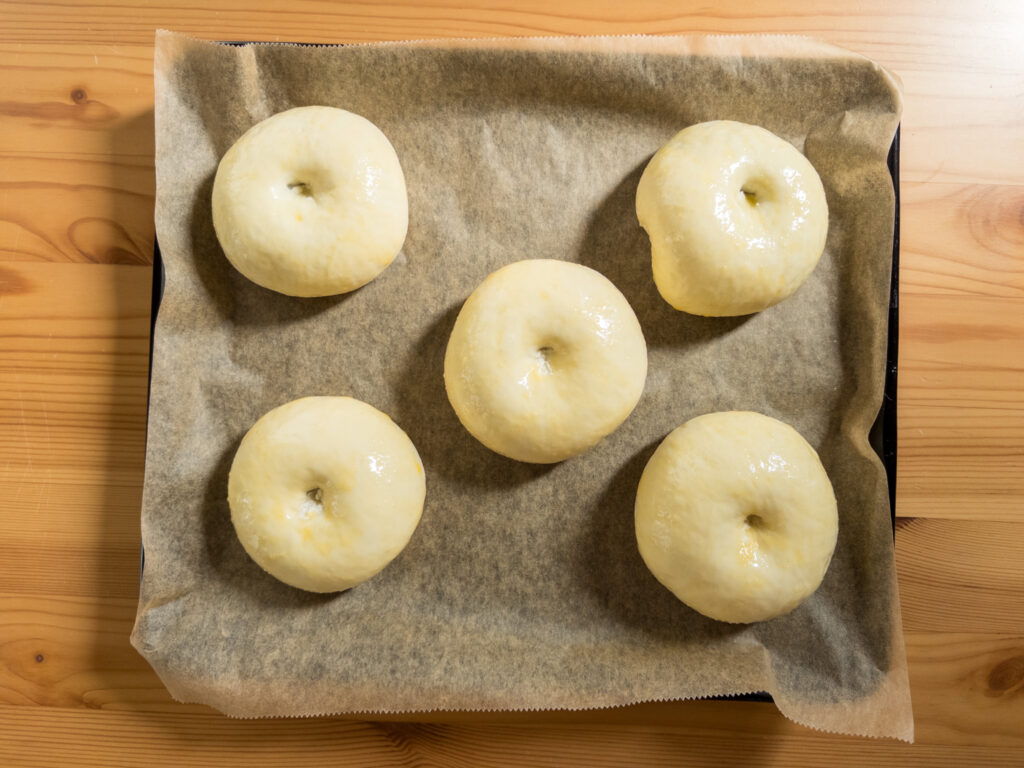
- Baking: Preheat your oven to 200°C (392°F). Brush the tops of buns with a beaten egg. Bake for 7 minutes or until the tops are golden brown.
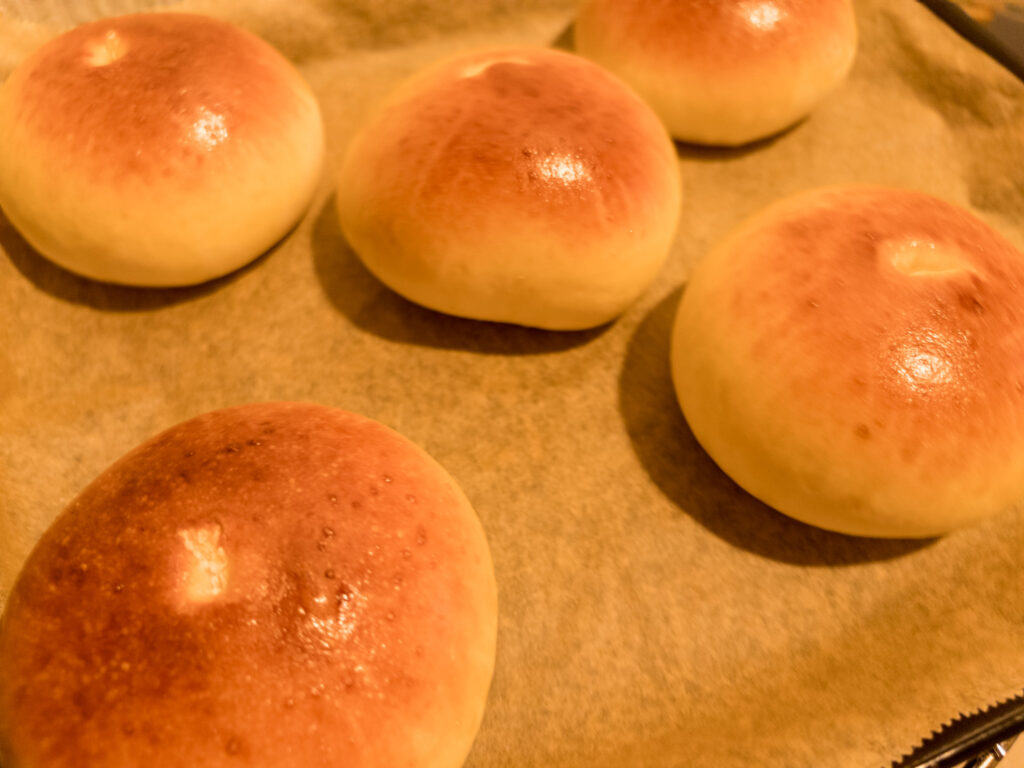
You are now a Japanese baker:)
Enjoy while still warm!

Comments